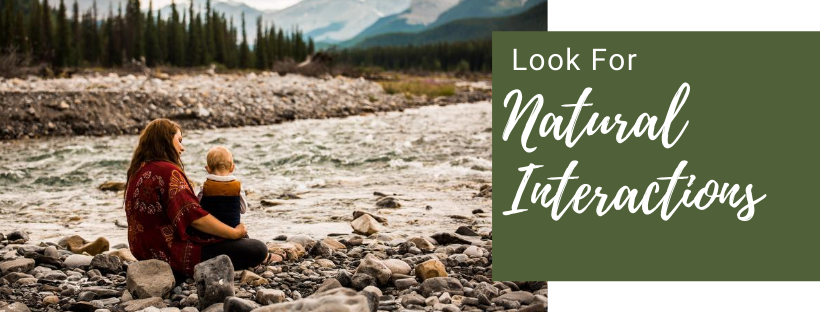
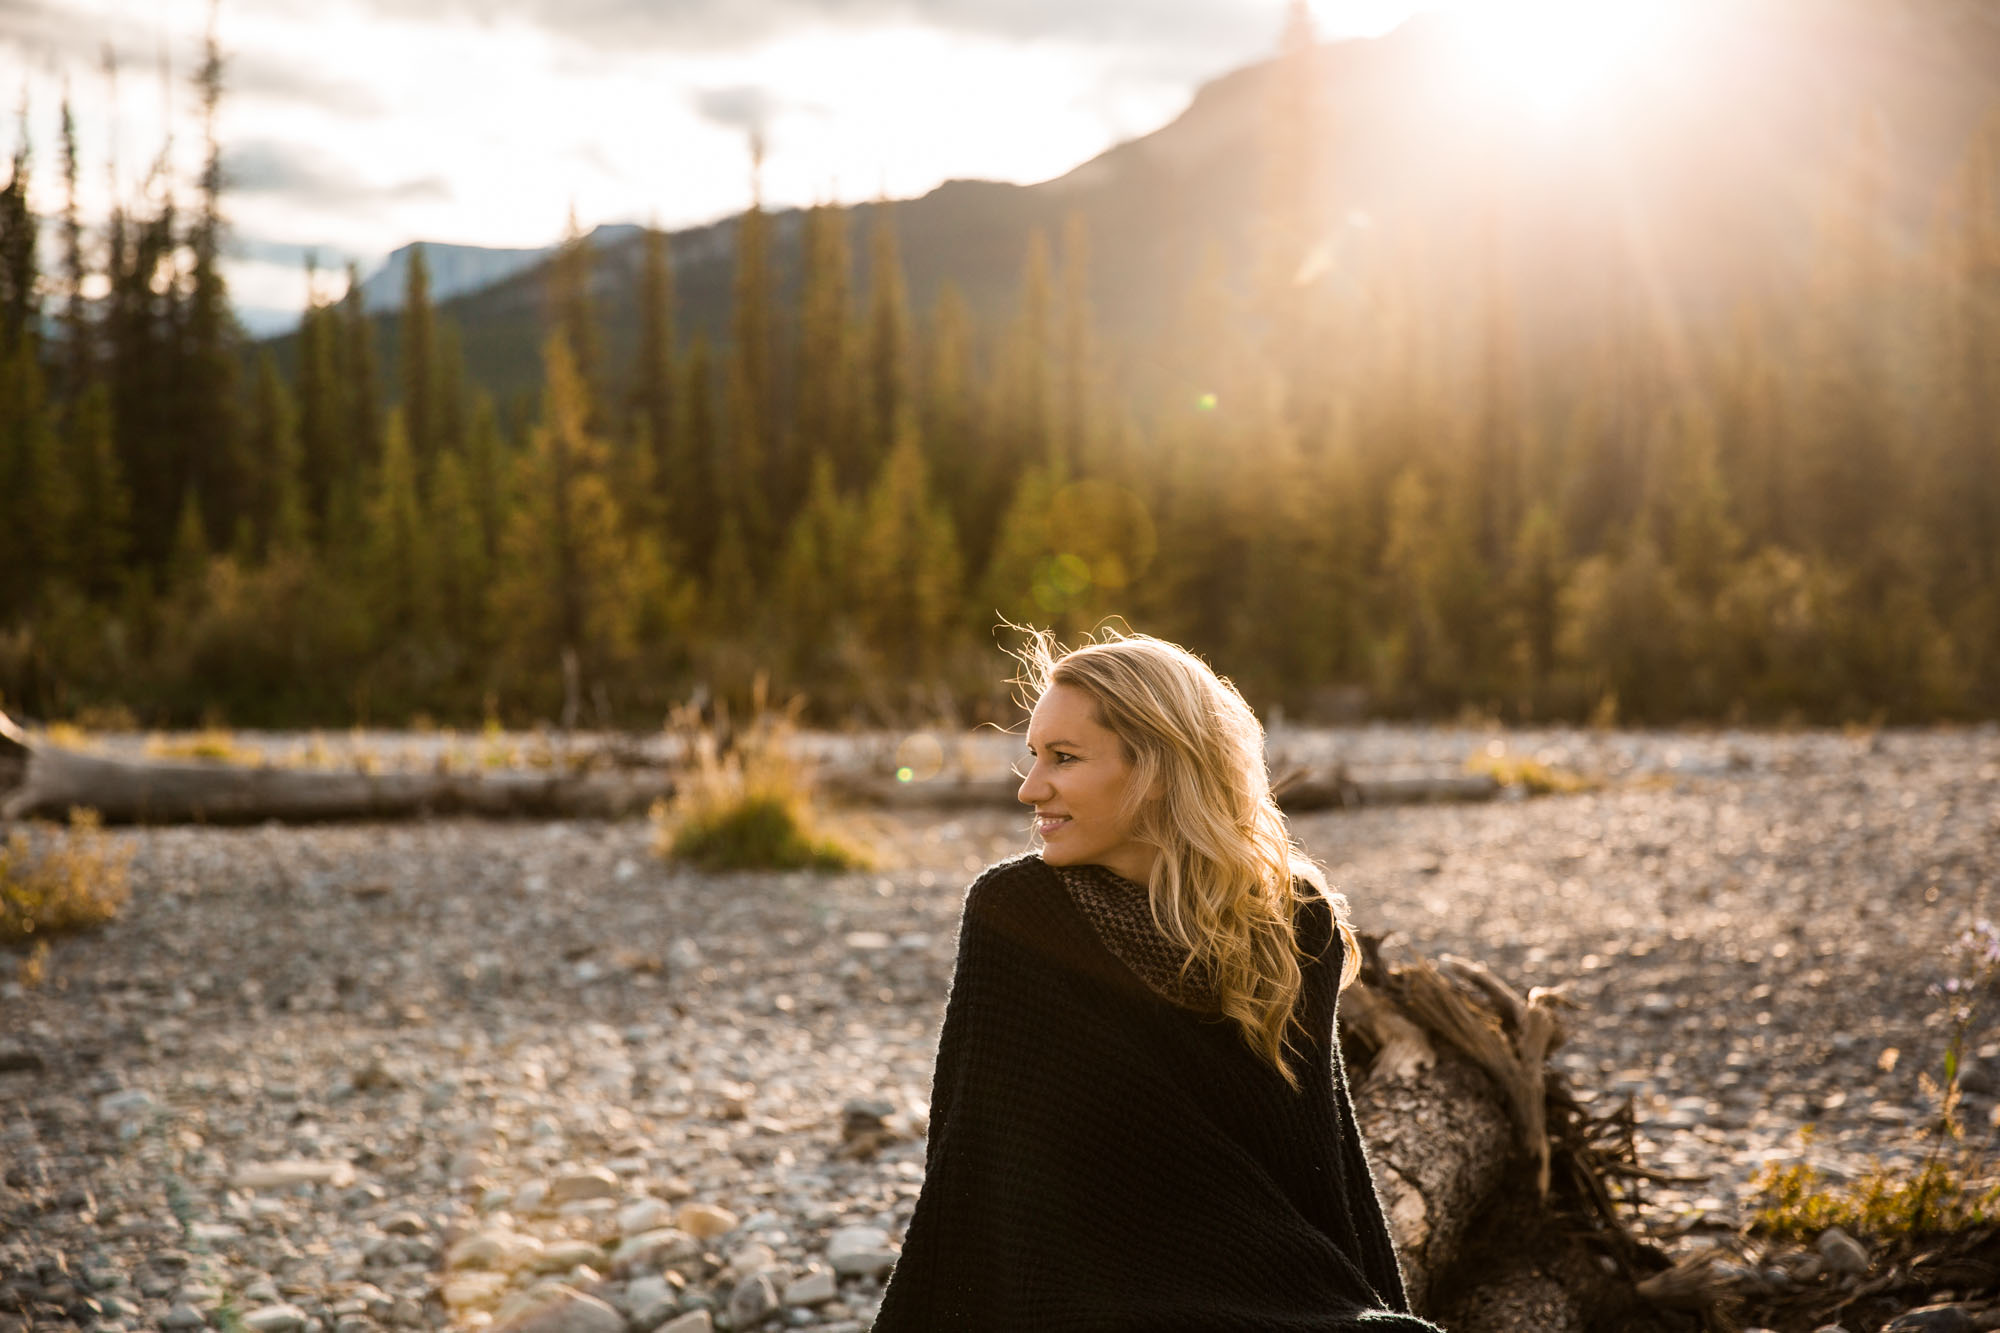
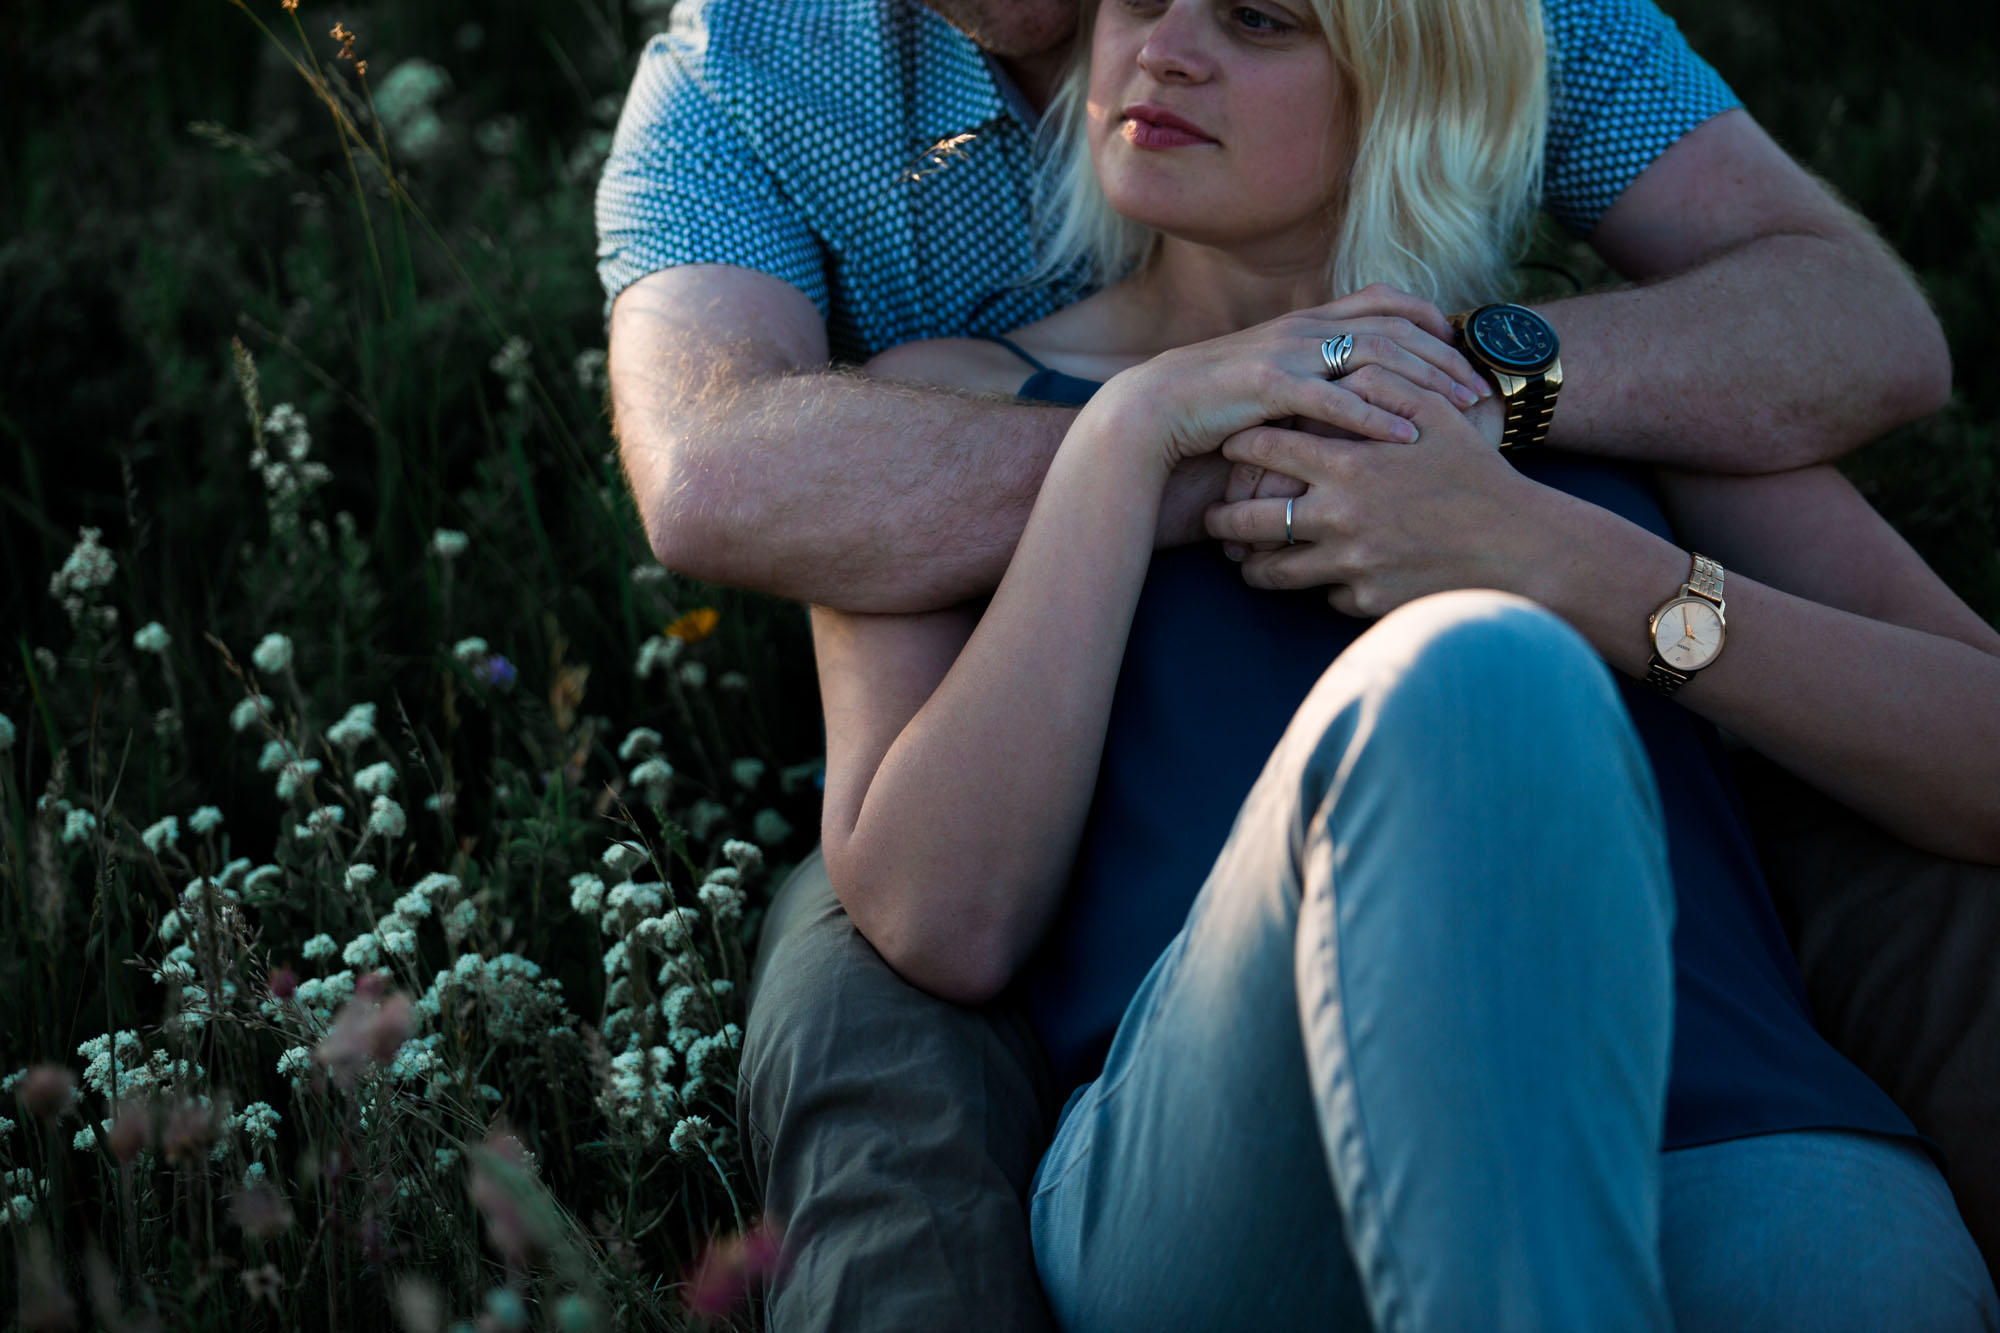
Focusing on natural interactions to create authentic family and wedding portraits
Say cheese! So many pictures are taken posing people in front of something pretty and asking them to look at the camera. One of the main things that make professionally taken photos look so appealing is that we do the complete opposite.
I like finding a pretty backdrop and asking people to just enjoy it, enjoy each other and pretend that I am not there (they were throwing rocks in the river in this photo).
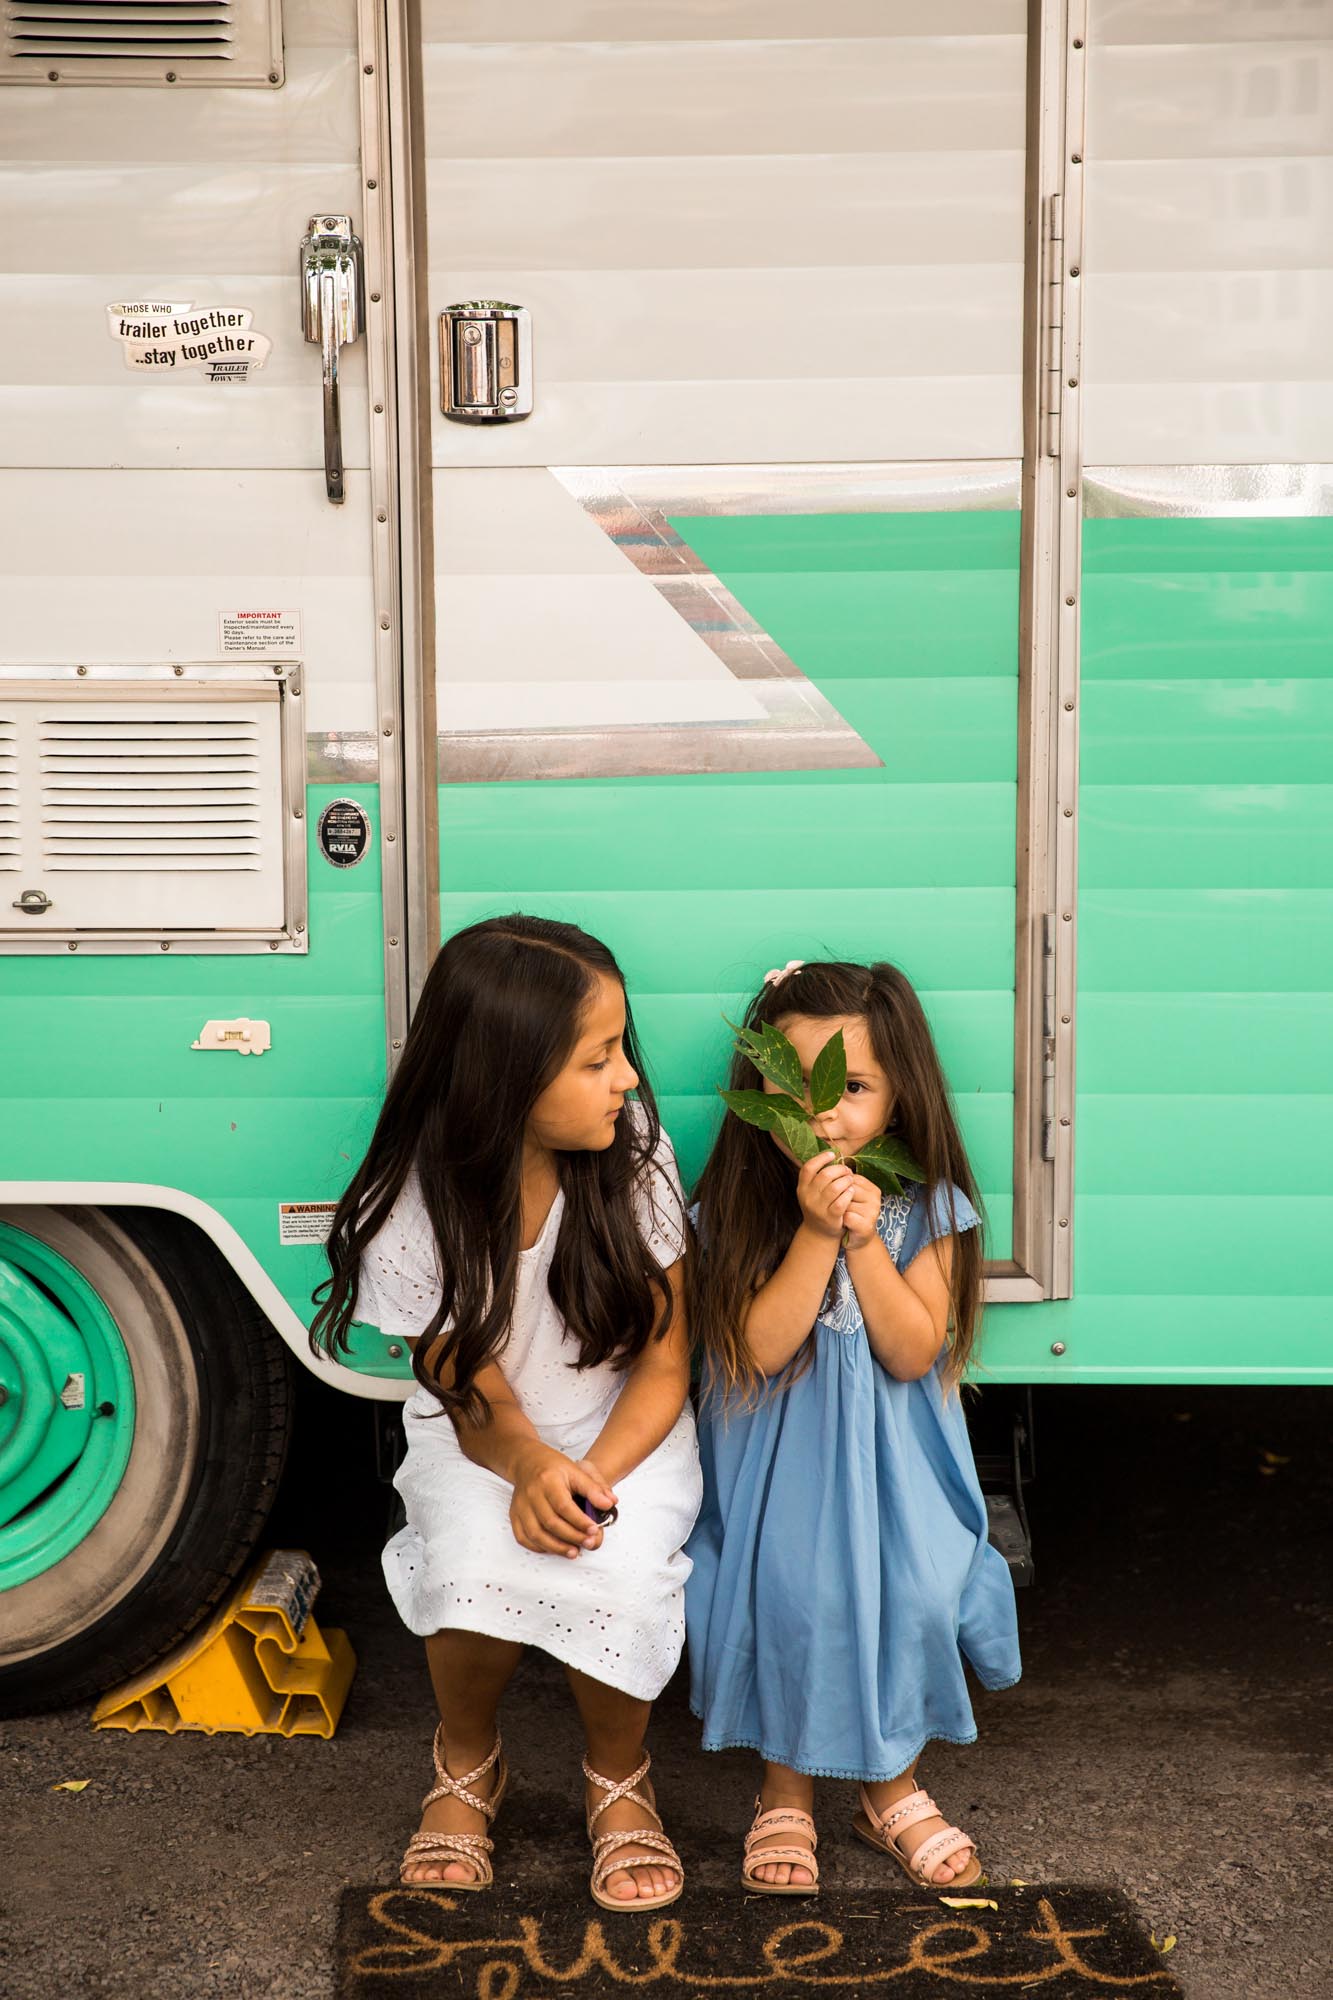
I still give pointers like “can you move your hair to the other side so I can see your face” or “roll your shoulders back so your posture is better”. But I look for NATURAL INTERACTIONS. Because genuine moments are so beautiful and because that is how the photo will actually bring back a memory, a feeling.
So next time you go on a trip somewhere, hang back with your phone or camera while your family is exploring and take pictures of them while they have no idea you are doing it.

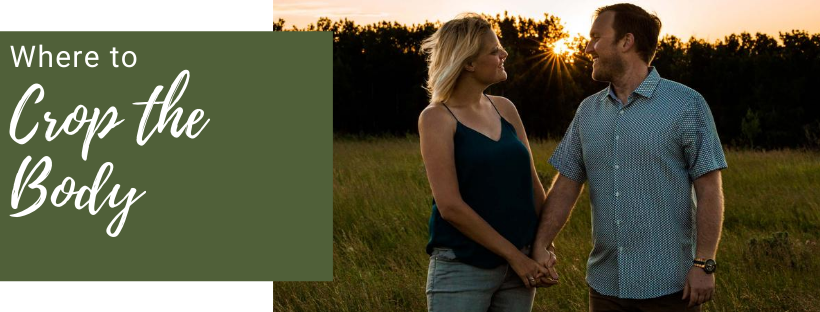
Using flattering angles to create stunning family and wedding portraits
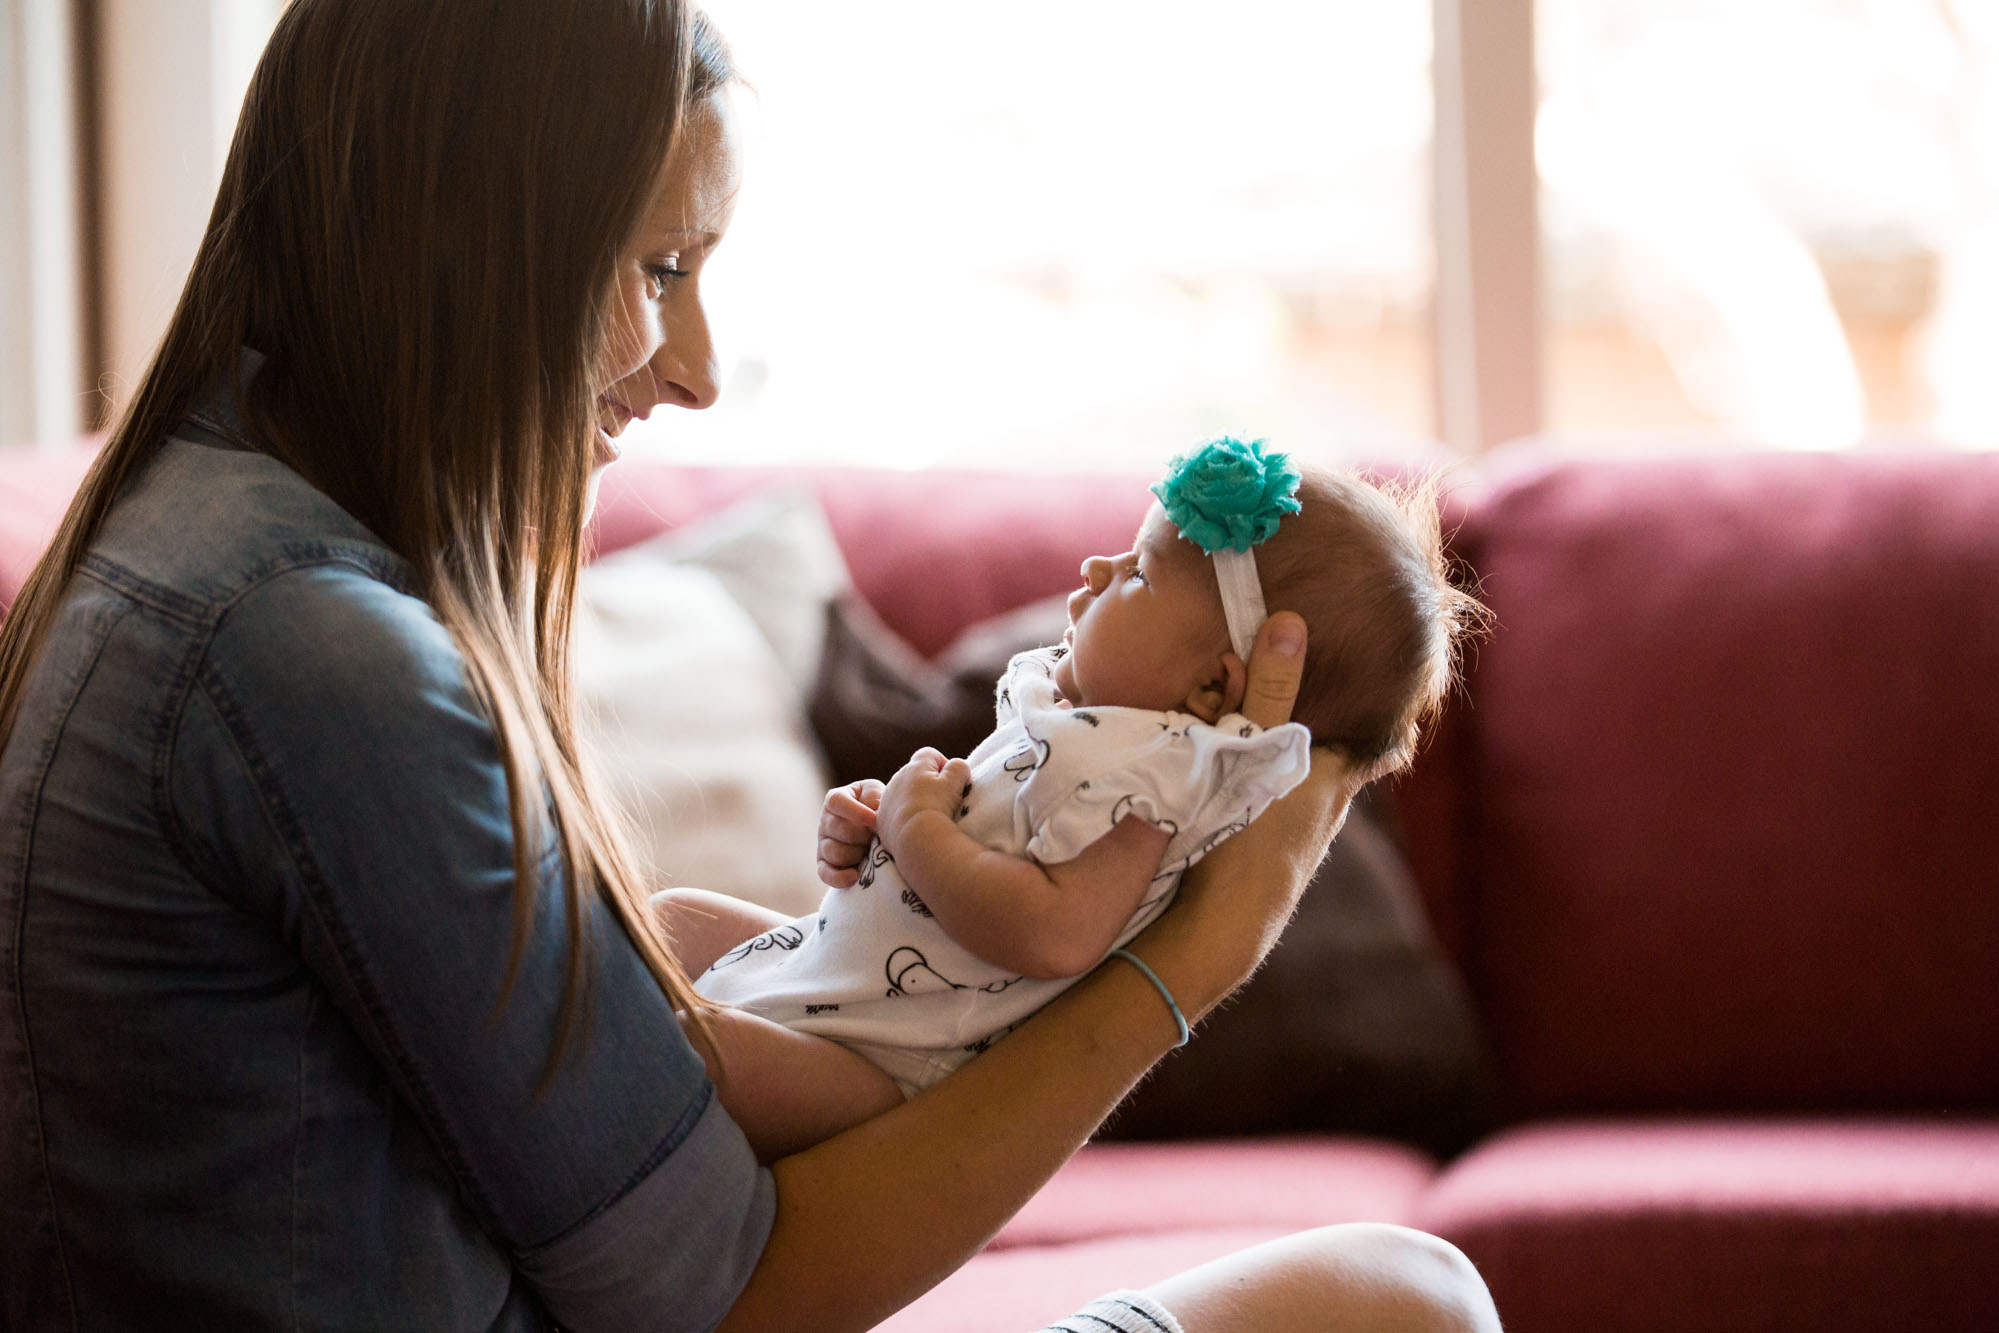
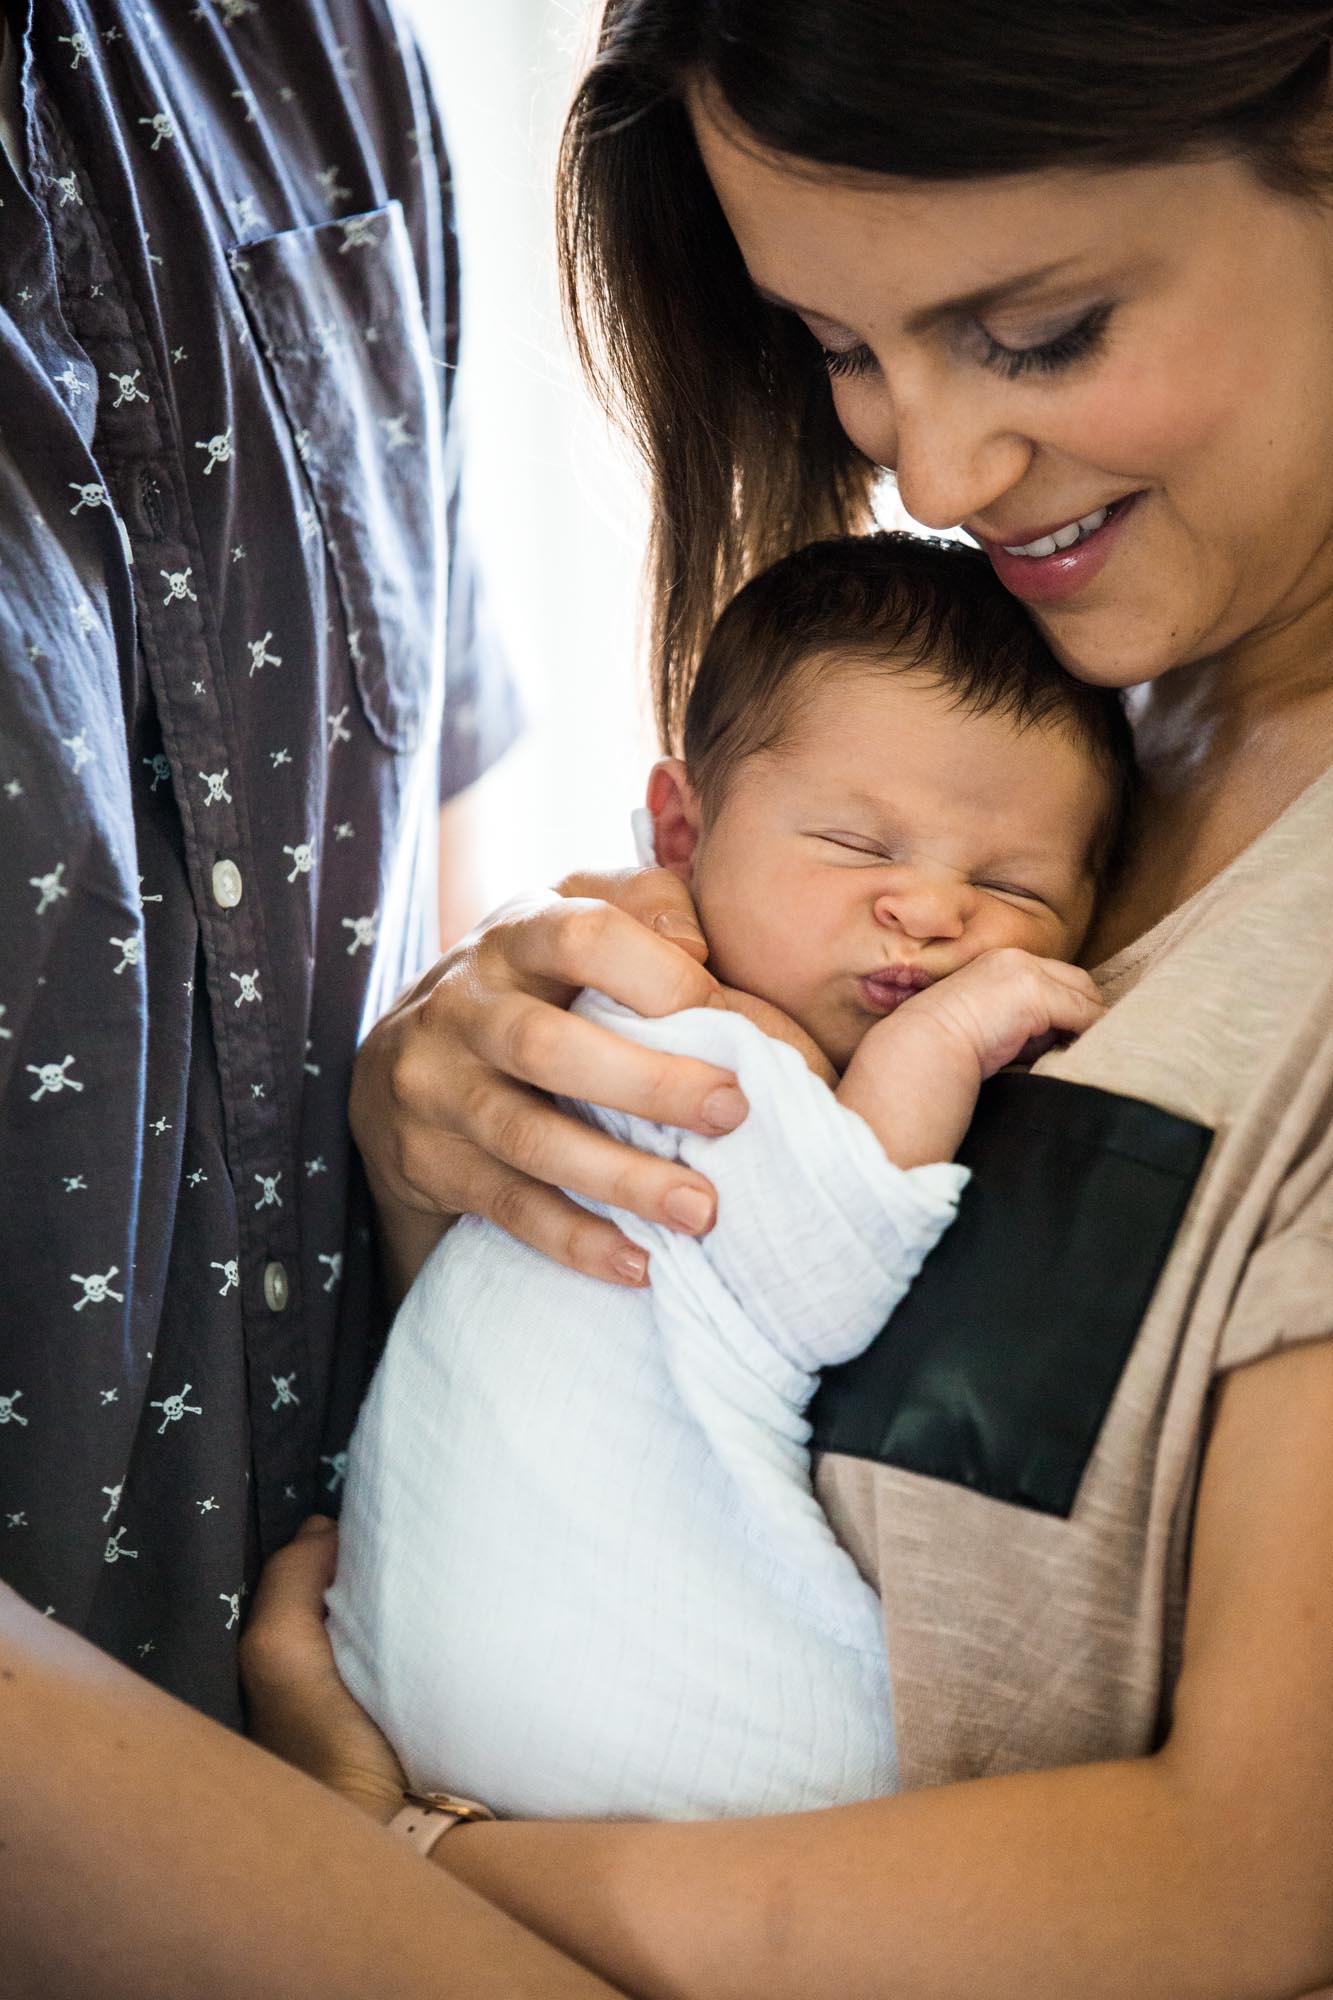
When it comes to posing, there is a lot you can do to make everyone look attractive. Using a 45 degree angle is the first thing you want to pay attention to. It helps to have the whole body positioned in a 45 degree angle as opposed to facing the camera directly, and the same goes for the face. If you get people to turn their face just slightly to show you a 45 degree profile, it will look so much better than face on. They can tilt their chin slightly downwards as well which is very flattering. A good way to have that happen naturally if you are photographing more than one person, is simply having them look at each other. That way it will not feel forced and you will achieve that perfect positioning.
Another thing you can do is get people to put most of their weight on their back leg. Once they are on that 45 degree angle, if they shift their weight to the leg that is away from the camera, it will make the front leg which is more visible look thinner.
You can also put yourself in a position where you are higher than the person you are photographing, which will also give you a slimming effect. You might have already tried it while taking a selfie. If you bring that phone higher, you will get the best results for an attractive selfie, although you have to watch out for the distortion caused by the wide angle of a phone camera.
Make sure that people roll those shoulders back and have a good posture – get rid of that hunched over back. This goes a long way. Other than the weight on the back leg trick, all of those apply to both seated and standing poses.

How to adjust your shutter speed to freeze motion
Motion and movement add a lot of character to photos and if you are trying to capture real life, chances are people are moving. You might wonder why the pictures of your child running around sometimes show up blurry. That has to do with the SHUTTER SPEED. Simply put, it is the time that your device has to expose the image to absorb enough light so that it does not come out too dark or too bright. With a phone or shooting in auto mode with a point and shoot camera, you cannot adjust that setting, your device will just do whatever it thinks is best. So if your environment is too dark, it will expose longer and therefore not freeze the motion and your picture will be blurry. So the easiest way to make sure that doesn’t happen is to take advantage of really bright settings like when you are outside on a sunny day to get that shot of your child playing with a ball, twirling or riding a bike.
Something else that will help freeze motion is using a flash. When the flash goes off, it lights the scene really fast and really brightly and will somewhat freeze that fraction of a second, but if your shutter speed is too slow, you will still get a little bit of a trailing blur.
You can also try following your subject with a sweeping motion of your device in the same direction as your subject’s motion. This would work with a child on a slide, a swing, a moving bike or car for example. It would not work for a twirl because the subject is staying in the same spot while moving. It actually creates a really fun look if you get it right. It will keep your subject sharp and in focus, but will blur the background and show the sweeping motion.
Where to crop the body to create high quality portraits
It is a lot of fun to play with zooming in and out, getting closer and further away from the people you are photographing. You of course don’t need to have the whole body in the frame, but there are very specific places where you should and should not CROP the body. Basic principle, you do not want the person in the picture do look dismembered! If the hand is in the picture, make sure you get the whole hand, or at least the beginning of all of the fingers, so it doesn’t look like one is missing.
If you want more of a head shot effect, crop just bellow the shoulders and not at the neck. If your photo is really zoomed in, is is ok to miss a part of the top of the head where there is hair, but don’t cut too much of the forehead.
If you want more of a body shot, you can crop the body at the hips or mid thigh, definitely don’t crop just above the ankle because it will look like they are missing their feet.
And if you want to see the entire body, make sure that you have a little bit of wiggle room all around the person and that they are not on the very edge of the image. This will help in a few ways. If you need to readjust your horizon line, you will not loose parts of the person as you loose some of the parts around the edges. It will also help if you end up printing the photo. The photo lab might crop some of it in the printing process and if you frame it, it will hide a small portion all around the image.
Finally, you can also have fun with it and try taking pictures that focus more on the hands or toes for instance, cropping the head out completely. You can try taking a picture of the middle section and crop at the mouth or nose at the top of the image, missing the top part of the face. Those can be super creative but try to take a few different variations and find the one that looks best to your eye!
Going back to basics with 4 easy ways to create better portraits
1️⃣ Get people to take off their sunglasses so you can see their eyes, and get them to do it as soon as possible so hopefully the marks on their nose go away. If they need them for eyesight (transition lenses) but can live without, also get them to take them off.
2️⃣ Get people to empty out their pockets – cellphones, car keys, wallets. They all make bumps on the pants and jackets and it doesn’t look good in photos.
3️⃣ Close the gaps in between people when you are posing them. I find that people tend to keep a little space in between them so get them to close that gap. If they are holding hands and walking, try to have them walking still quite close to each other (unless there is a ton of motion in the picture, then it might work better if you let them end up where it feels the most natural). When a couple holds each other, make sure they hold each other like they mean it!
4️⃣ Straighten out your horizon. This cannot be said enough. Never leave a horizon line crooked. And if you have a ton of different lines that were potentially affected by lens distortion, a lot of trees beside a curvy riverbank or a lot of other conflicting lines in your image, find the dominant one and straighten that one out. It is so important. If you don’t get it right in camera, don’t worry about it, it is literally the easiest thing to edit.
